
Whenever a client asks for an iOS build of a React Native application, I know certificates and provisioning can become the most time-consuming part. This is the checklist I use to get through the process without unnecessary guesswork.
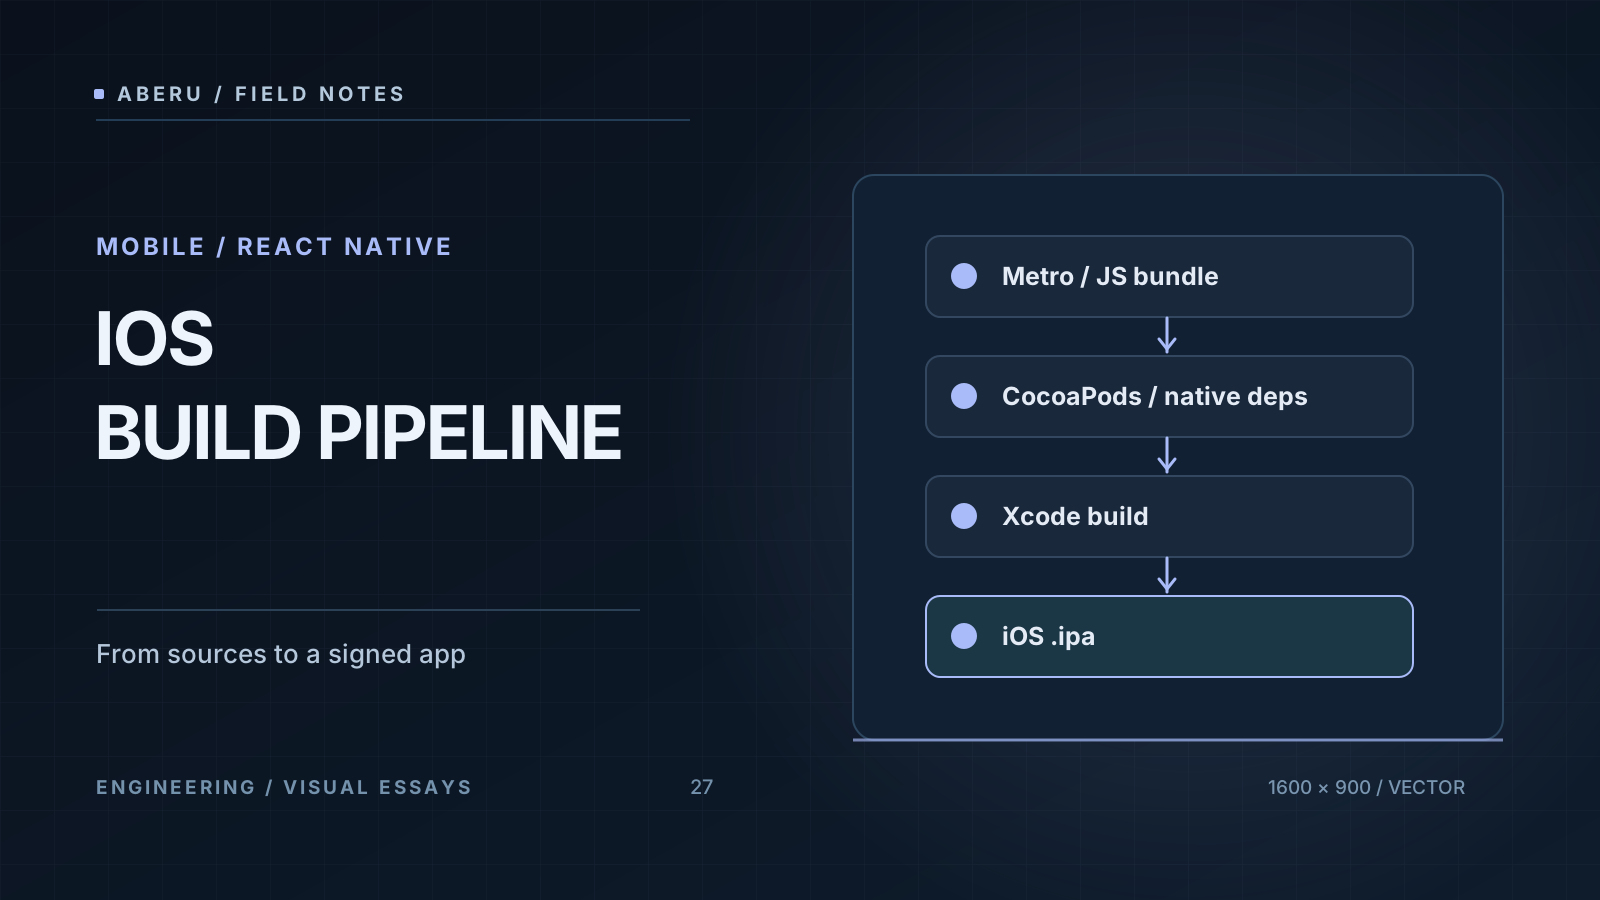
1. Provisioning Profiles
Apple provides different distribution profiles, including Development, Ad Hoc, and App Store. To distribute an Ad Hoc build to a specific device, the profile must include that device’s UDID. A TestFlight upload uses App Store distribution. Confirm the intended distribution method before building.
2. A Clean CocoaPods Installation
cd ios
pod repo update
rm -rf Pods Podfile.lock
pod install
Reinstalling dependencies can resolve module-resolution errors after a React Native upgrade. However, deleting Podfile.lock also changes the dependency resolution: try a clean install that preserves the lockfile first, especially on a team project.
3. Schemes and Configuration
xcodebuild -list
Inspect the available Xcode schemes. The actual scheme name sometimes differs from the project name, so checking it early can prevent repeated failed builds.
4. Create the Archive
xcodebuild clean archive \
  -workspace MyApp.xcworkspace \
  -scheme MyApp \
  -configuration Release \
  -archivePath build/MyApp.xcarchive
Replace the example workspace and scheme with those of the actual application. Make sure the signing configuration matches the intended distribution workflow.
5. Export the Application
Create an ExportOptions.plist with an export method appropriate for your signing and distribution setup, such as ad-hoc or an App Store distribution method supported by your Xcode version. Review the available values in the documentation for your installed toolchain; the accepted plist keys can change between Xcode releases.
Conclusion
React Native makes it possible to share application code across platforms, but iOS builds still involve Apple’s signing and distribution machinery. Keeping a documented, version-aware checklist can save substantial time on every release.

